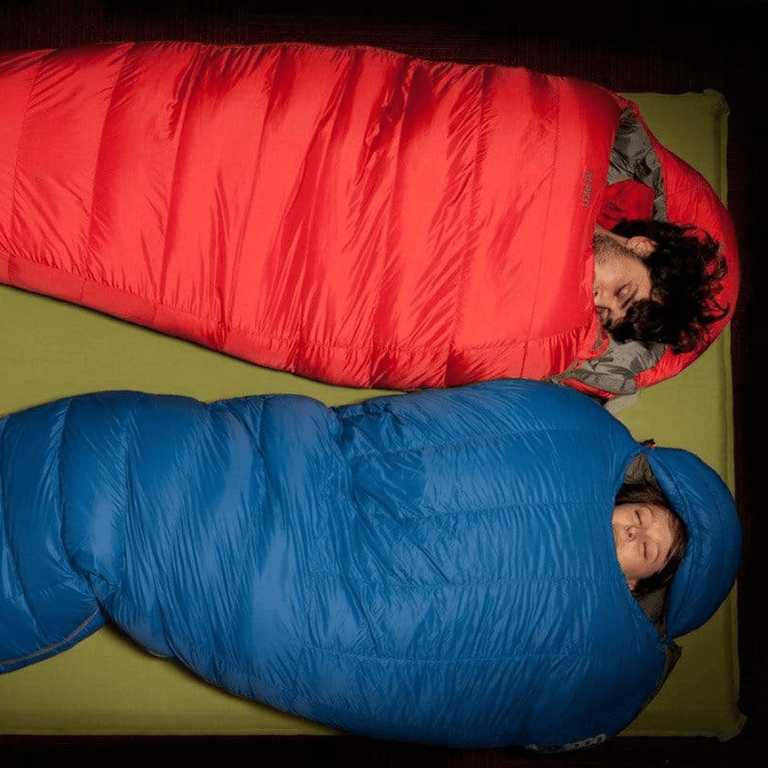
Self-inflating sleeping mats are reliable and simple to use. Follow these tips to help them inflate quickly and extend their lifespan for years of comfort.
When you get a new self-inflating sleeping mat, the first thing you'll probably do is celebrate - hooray!
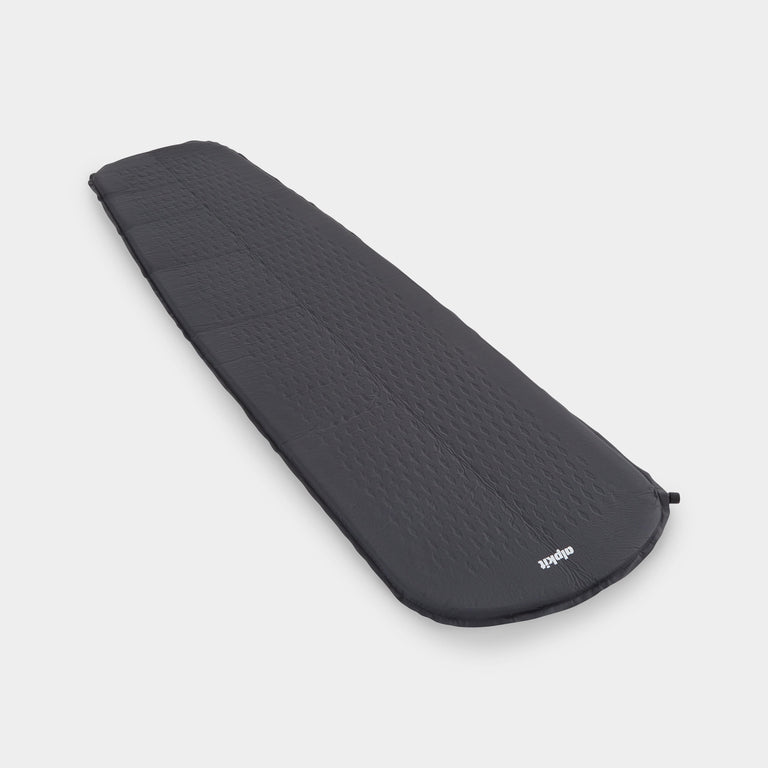
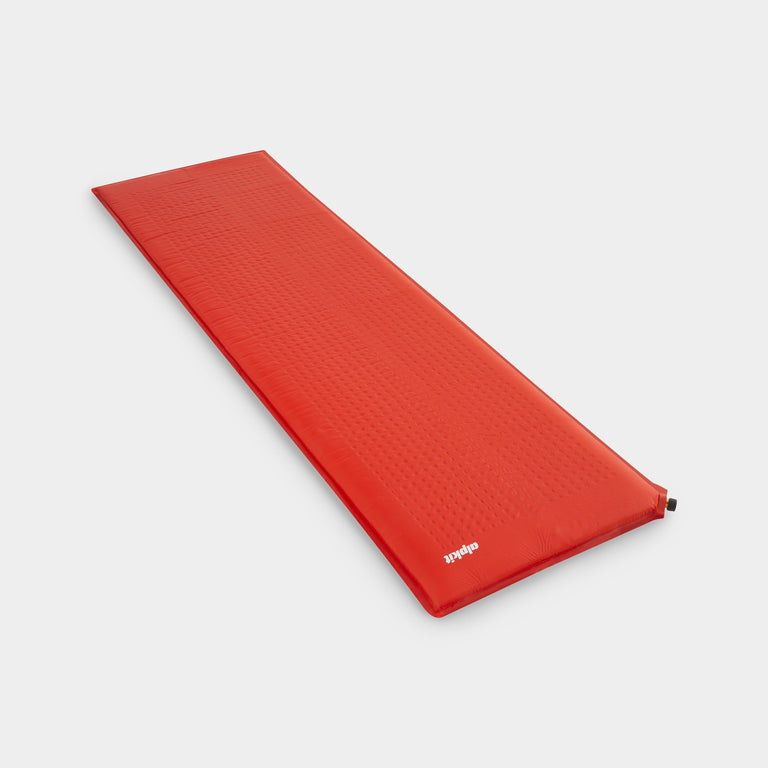
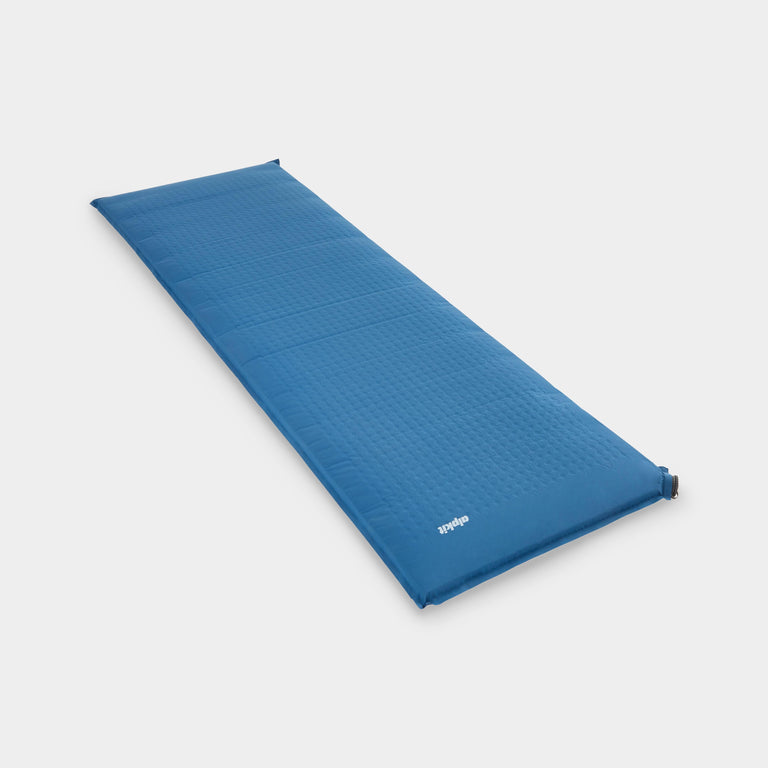
Self-inflating sleeping mats are dead easy to use and look after, whether you picked yours up through our camp gear range or elsewhere. But there are a few simple steps you should follow to make sure your mat performs at its best and lasts as long as possible.
- What's included with my mat?
- What to do with your mat when it arrives
- How to inflate your self-inflating sleeping mat
- How to pack away your sleeping mat
- How to store your sleeping mat
What's Included With My Mat?
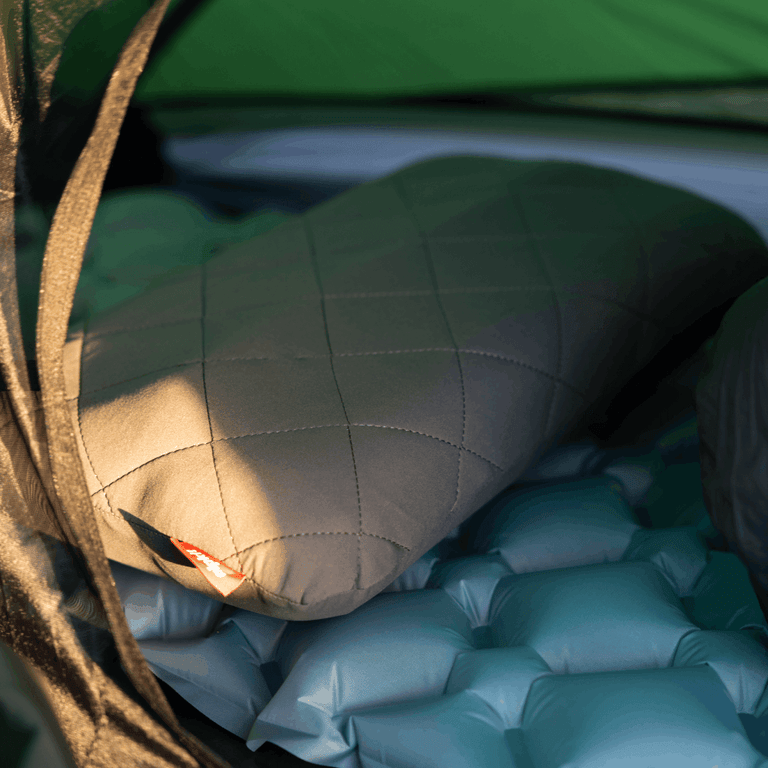
Your inflating sleeping mats and self-inflating camping mattresses">sleeping mat comes with a repair kit, including: a fabric patch, glue, and instructions. Hang onto it, you never know when might need it!
What To Do When Your Mat Arrives
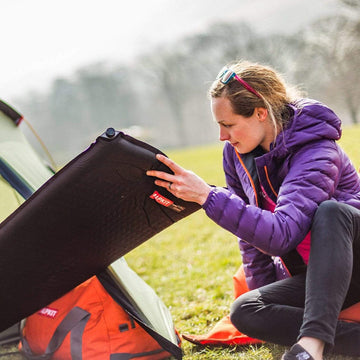
Inflate your mat as soon as it arrives, before you take it on any trips. It takes a while for the mat to inflate first time round as the foam will have been compressed tightly by the factory for shipping. We recommend leaving your mat for a minimum of 30 minutes, but the longer, the better.
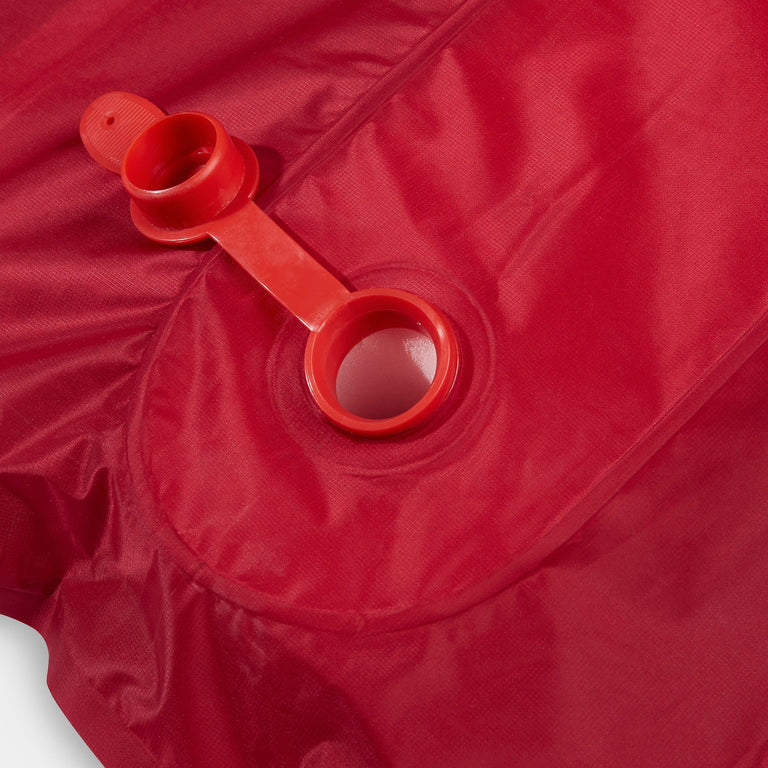
How To Inflate Your Self-Inflating Sleeping Mat
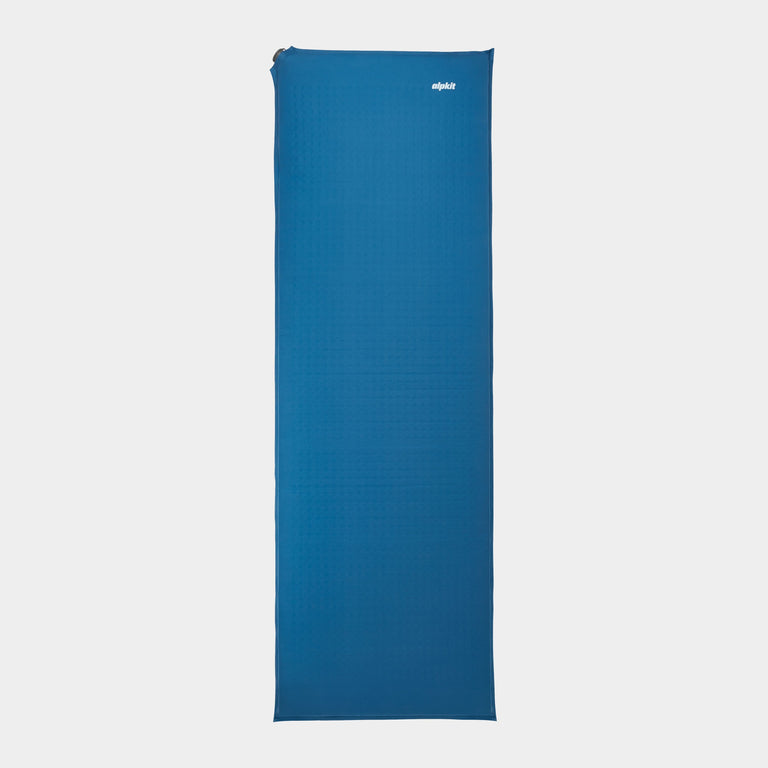
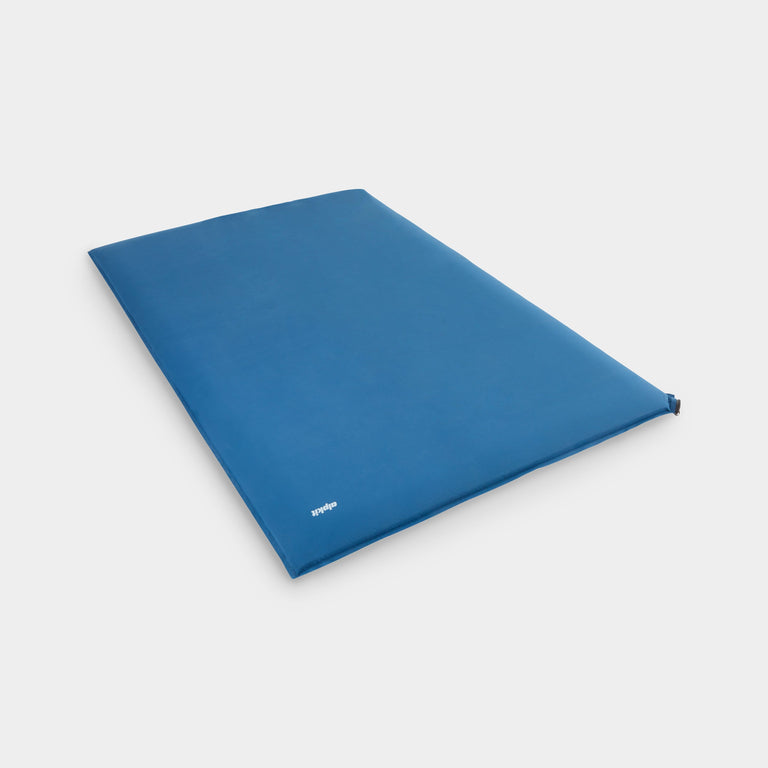
- Unroll and open your mat out flat
- Open the valve wait for the foam to spring into shape
- Top up your mat with a few breaths until it's firm enough to sleep on
- Close the valve with your mouth around it to stop any air escaping
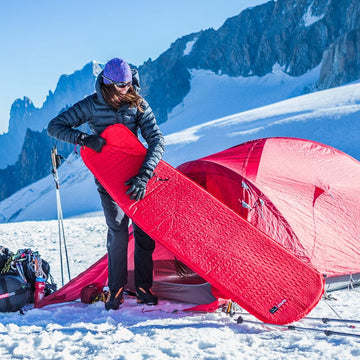
How To Pack Away Your Sleeping Mat
- Open the valve and roll up the mat from the bottom, kneeling on it as you go to squeeze out as much air as possible
- Close the valve and unroll the mat again, laying it flat
- Fold your mat in half and roll it again, opening the valve as you get near to the end to squeeze out any remaining air
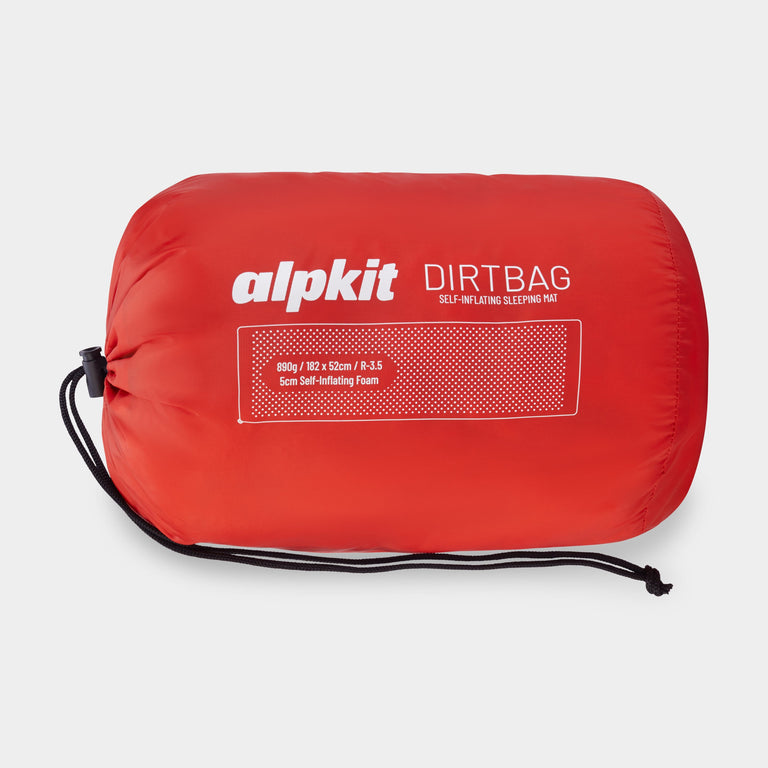
- Close the valve and put the elastic straps around your mat so it doesn't unravel while you're putting it into it's stuff sack
How To Store Self-Inflating Sleeping Mats
It's a good idea to store your mat flat and uncompressed with the valve open. This allows the foam to bounce back into shape faster when you next take it on a trip inflating sleeping mats work?">(it's the foam expanding that causes your mat to self-inflate).
Storing your mat with the valve open also helps to prevent moisture build-up inside the mat from blowing into it with your damp lungs! Find a cool, dry spot that's out of direct sunlight for your mat to live in, like down the side of a wardrobe or under the bed.
Related sleeping mat guides
- Choosing a sleeping mat - our complete buying guide
- Sleeping mat R-values explained - understanding thermal resistance
- Tips for a comfortable night's sleep camping - sleep better outdoors
Sleeping Mats for Camping

-
Sold Out


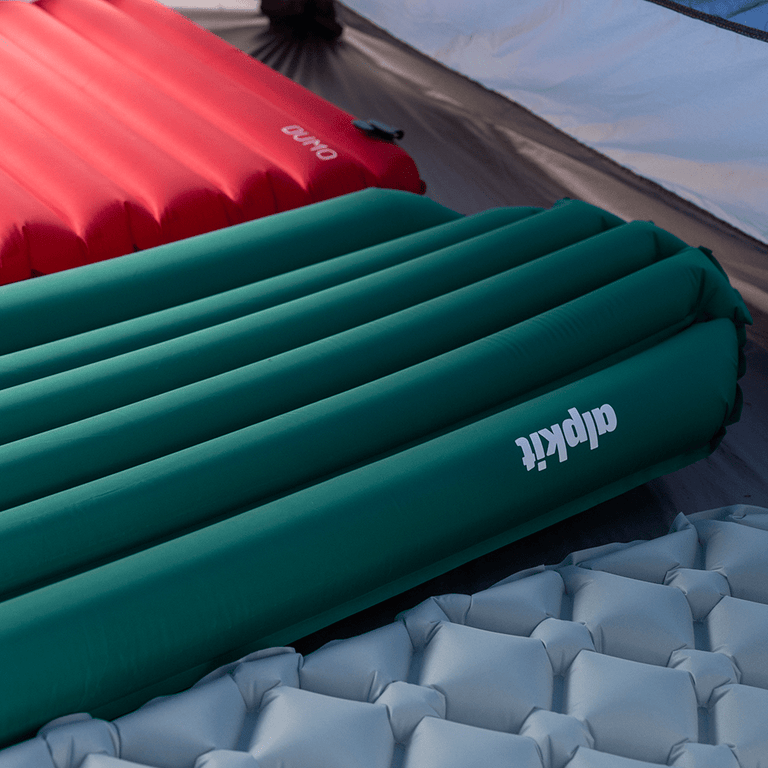
Numo
A lightweight, inflatable sleeping mat, weighing just 350g, giving variable thickness to keep you in the centre of the mat
€59,99


Cloud Base
Diamond air pockets for lightweight, packable sleep comfort: full length, 5cm thick, 410g
€69,99
-
Sold Out

-
Clearance


-
Clearance

Your next reads