Beneath the stars, a snug bivvy cocoons you, sheltering from winter's chill. The crackle of a stove and the scent of pine stimulates the senses. A winter bivvy offers an experience like no other.
In winter, the nights are longer, darker. All the more time for your outdoor sleepover! A winter adventure – whether a multi-day trip or a microadventure – can be a refreshing antidote to winter blues. This guide runs through what you need to bivvy in winter and how to stay warm. For more camping guides, explore our camp hub.
Our guide to bivvying in the winter
- Can you bivvy in winter?
- How do you keep your bivvy warm in winter?
- What kit do you need for winter bivvying?
- How to set up your winter bivvy
Winter Bivvying at a Glance
- Insulation from below is crucial: Use a thick sleeping mat plus a foam mat for maximum warmth
- Stay dry at all costs: Wet gear conducts heat away 25x faster than dry gear
- Manage condensation: Ventilate your bivvy and never breathe inside your sleeping bag
- Safety first: Check forecasts, tell someone your plans, and know the signs of hypothermia

Winter bivvying: yes, you can do it
Yes! When you bivvy in winter, you don’t need to share the stars. The outdoors is all yours. The Milky Way, the planets, the birdsong, and the silence. You can take winter in from the ultimate cosiness of your sleeping bag. You can do it, all it takes is a little more preparation.
The key to a successful winter bivvy isn't having the most expensive gear, it's understanding how your body loses heat and taking simple steps to prevent it. Once you grasp these fundamentals, you'll be surprised how manageable (and magical) a winter night under the stars can be. Let's break down the science and the solutions.
Winter bivvying safety: know before you go
Winter adds an extra dimension to outdoor safety. Before you head out, make these checks part of your process:
Check the forecast
Don't just check the temperature, look at wind chill, precipitation, and overnight lows. If severe weather is forecast, postpone your trip. There's no shame in choosing another night; the mountains will still be there tomorrow.
Know the warning signs
Hypothermia can creep up on you. Early signs include uncontrollable shivering, confusion, and fumbling hands. If you or a companion show these symptoms, take immediate action: add layers, consume warm food and drinks, and if necessary, get to shelter or call for help. Always carry an emergency shelter as backup.
Tell someone your plans
Always leave your route and expected return time with a friend or family member. Include your planned bivvy location if possible. In winter conditions, this simple step could be a lifesaver.
Build your experience gradually
If this is your first winter bivvy, start close to home or civilisation. Try a night in your garden first, or bivvy within walking distance of shelter. As your confidence and skills grow, you can venture further. For more guidance on staying safe on the hill, we've got you covered.
Emergency essentials: Alongside your bivvy kit, always carry a first aid kit, emergency shelter (like a bothy bag or emergency bivvy), whistle, fully charged phone, and basic navigation tools.
Keeping your bivvy warm in winter
If you have already bivvied in the summer you will be relieved to know the same principles apply. You just need to take it to the next level.
- Prevent heatloss through the ground
- Use the layering system
- Eat and drink to fuel your body
- Protect your extremities
- Keep your sleeping bag dry.
There are four main ways in which you lose heat while bivvying in the winter: convection, conduction, evaporation and respiration.
Convection
Convection is when that lovely warm air next to your body really wants to move to the cold air outside your bivvy. The solution? Trap it!
Pull in the drawcords on your sleeping bag and on your windproof, waterproof bivvy. Wear breathable, warm base layers (we like Merino) and socks and a woolly hat to trap air next to your skin.
Conduction
Keeping your kit dry and clean is vital. Not only does wet kit conduct heat away from your body more quickly, but your down jacket and sleeping bag won’t keep you as warm if they’re damp and dirty. A dry bag will never go amiss. And if you’re sure you’re going to be sleeping out in the rain, a synthetic fill sleeping bag might be a safer bet than down due to its performance in both wet and dry conditions (the weight penalty is worth it!).
In winter especially, the ground will also conduct heat away from you. A thick, but packable insulated sleeping mat, like the Radiant, is essential not only for comfort but also for warmth. For extra insulation use a closed cell foam mat underneath.

Evaporation
Evaporation very effective at getting rid of heat. This is great when it’s a warm, sunny day and we sweat to cool down. But this isn’t so great when you’re bivvying in the dead of winter. In fact, the body can lose up to 350ml of water during an 8-hour sleep. To prevent heat loss through evaporation, prevent as much environmental moisture as possible from getting into your sleep system. Put simply, don’t let the snow in. And to prevent extensive sweating overnight, try not to get in your bivvy cold in case you later overheat, sweat and cool down.
Respiration
It might seem tempting to snuggle up inside your sleeping bag to keep your face out from the cold. However, the moisture in your breath will condense and cause damp patches. If your sleeping bag has a down fill, this will negatively affect its insulating properties. And make you colder. What to do instead? Buy a beanie and breathe outside your bivvy.

Condensation: your winter nemesis
Here's something many first-time winter bivvyers don't expect: waking up to find the inside of your bivvy bag dripping wet—even if it hasn't rained. This is condensation, and in winter, it's unavoidable to some degree. But you can minimise it:
Ventilation is key: It might seem counterintuitive when it's freezing, but your bivvy bag needs airflow. Leave the hood slightly open and ensure your breath isn't trapped inside. Yes, a little cold air will get in, but it's better than sleeping in a damp microclimate.
Timing matters: Try to avoid getting into your bivvy too early in the evening. Your body generates moisture, and the more time you spend in your sleep system, the more condensation builds up. Stay active and enjoy your evening until you're ready to sleep.
Morning routine: As soon as you wake up, air out your sleeping bag and turn your bivvy bag inside out. Even on a multi-day trip, taking 15 minutes to dry out your kit while you have breakfast is worth it. Frost can form on the inside of your bivvy overnight shake it off before it melts into water. For multi-day adventures, check our guide on staying dry in challenging conditions.
Pack it right: Don't pack away a damp sleeping bag. If you must move on before everything's dry, pack your sleeping bag loosely and air it out at your next stop.
Winter bivvying kit list
Our packing list for a winter sleepout includes:
- Basic sleep system
- Sleeping mat – we recommend a camping mat with a high R-Value like our Radiant inflatable sleeping mat for maximum insulation and comfort
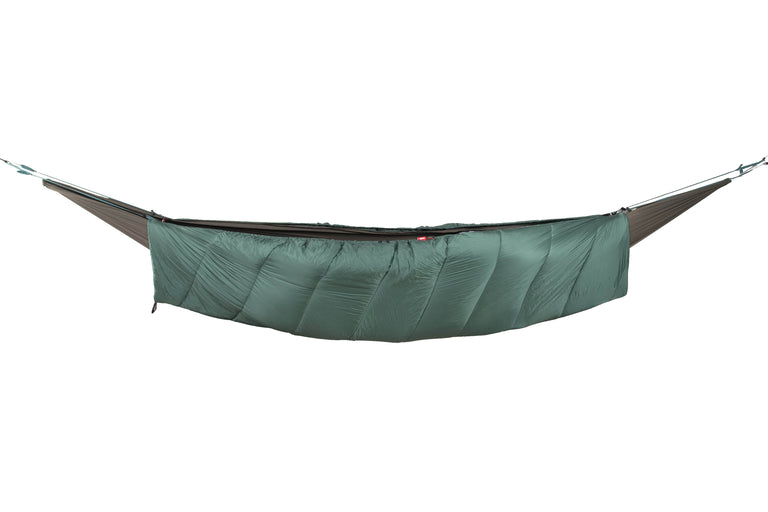
- Sleeping bag – highly lofted sleeping bag suitable with a comfort rating suitable for the outdoor temperature you’re expecting, like the AlpineDream
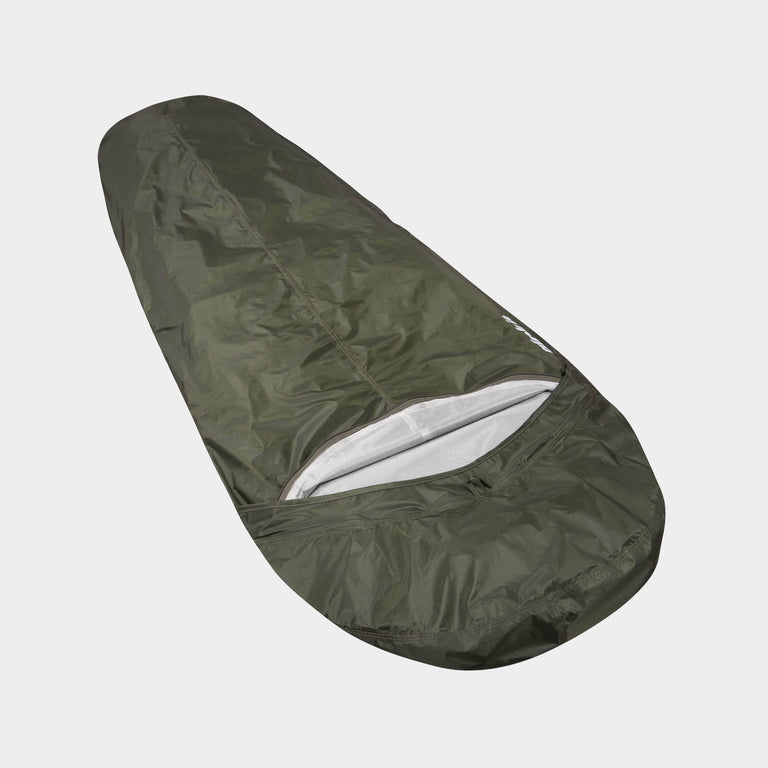
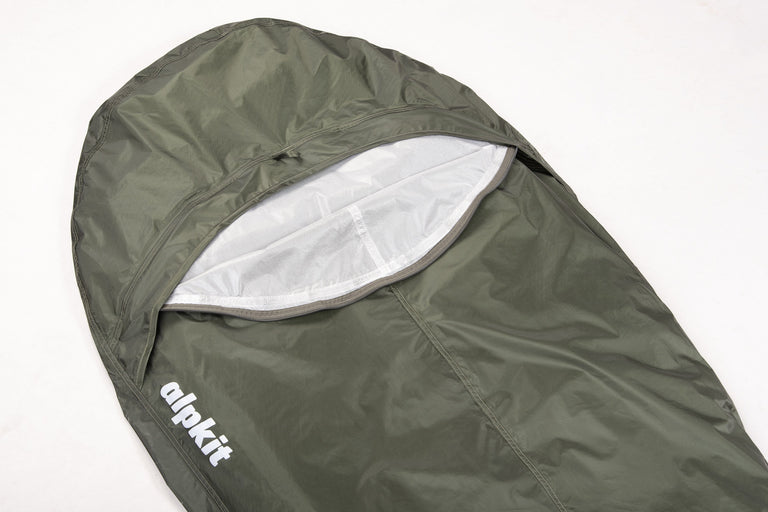
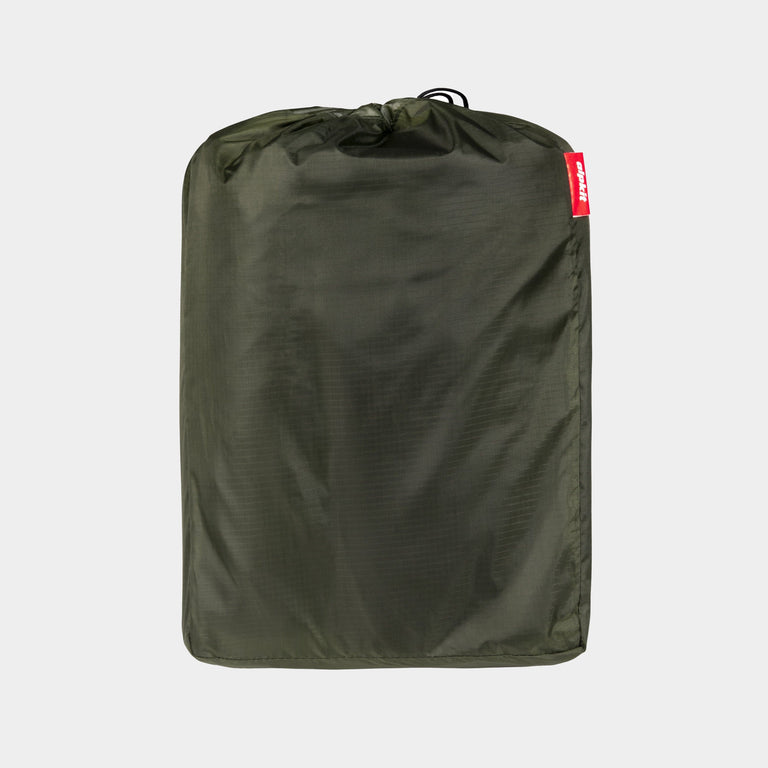
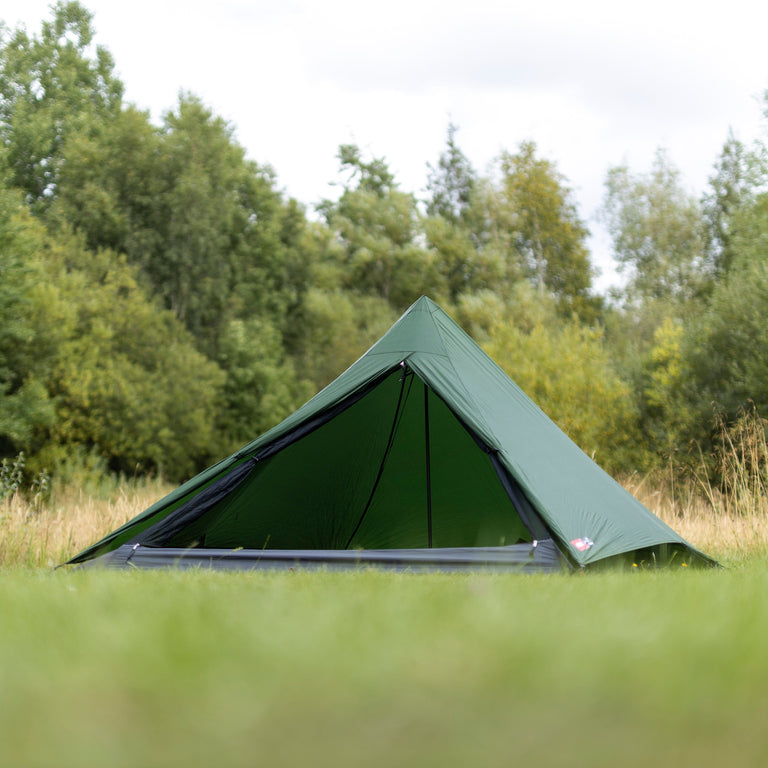
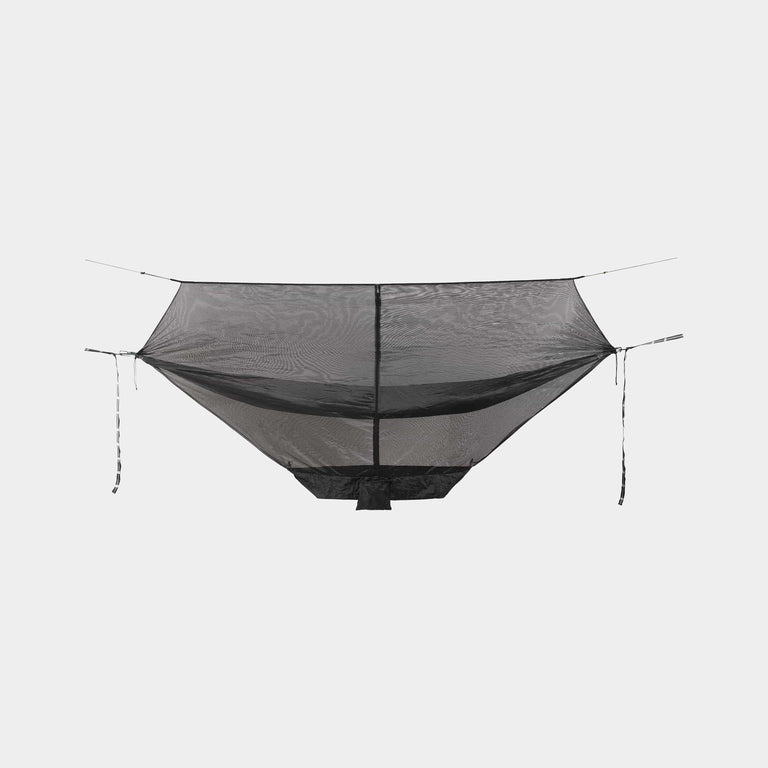
- Bivvy bag – windproof, waterproof and extra-large for keeping your winter sleeping bag, you and your kit dry
- Camping pillow (or a dry bag!)
- Clothes and accessories
- Merino base layers
- A woolly hat and socks
- (Plus all the gear you were walking in)
- Handy essentials
- Headtorch for navigating your campsite in the dark
- Camping stove to make a hot drink or some porridge in the morning
- Bottle you can fill with hot water to warm up your sleeping bag
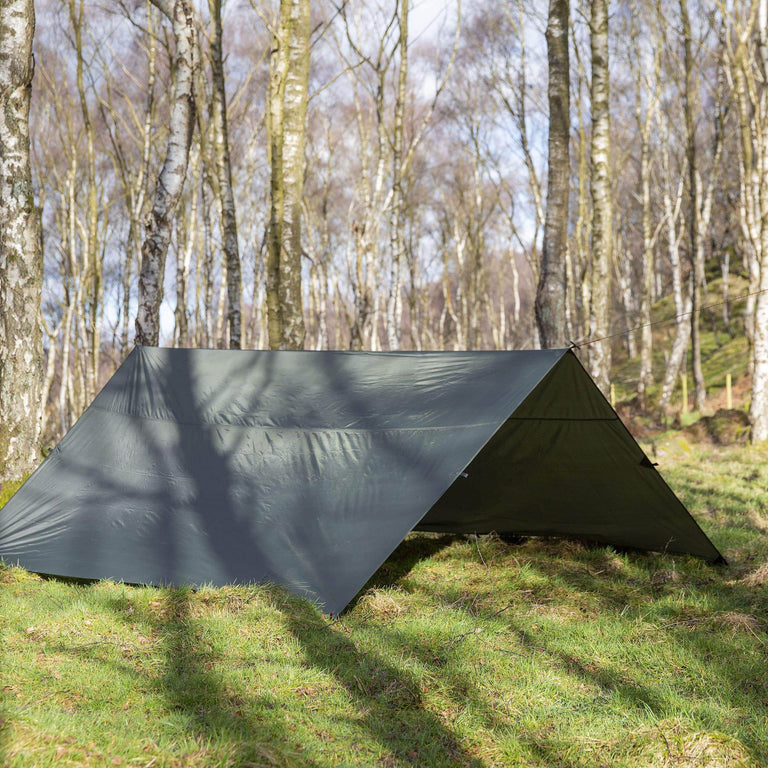
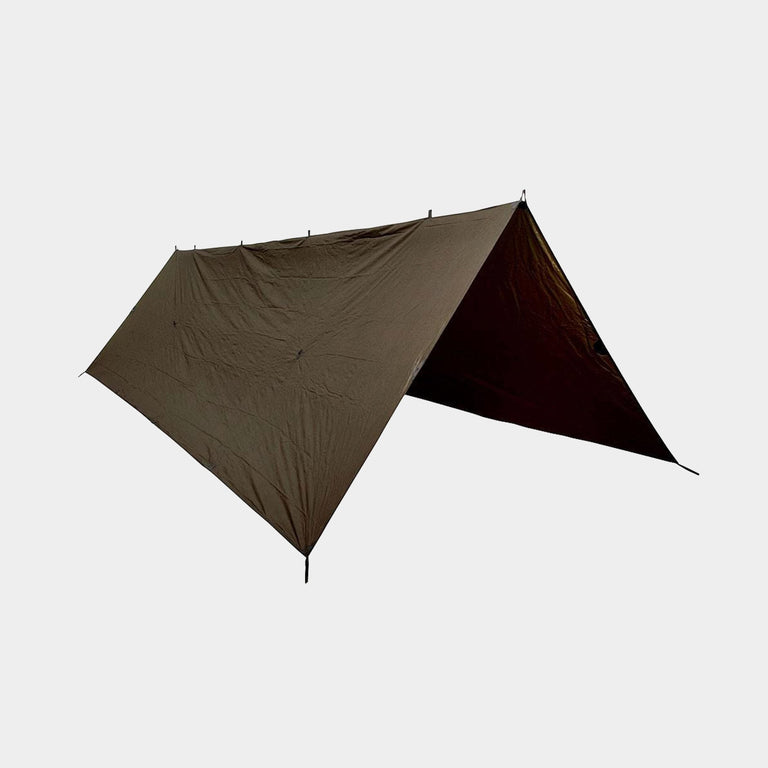
- Lightweight tarp in case it rains, like the Rig

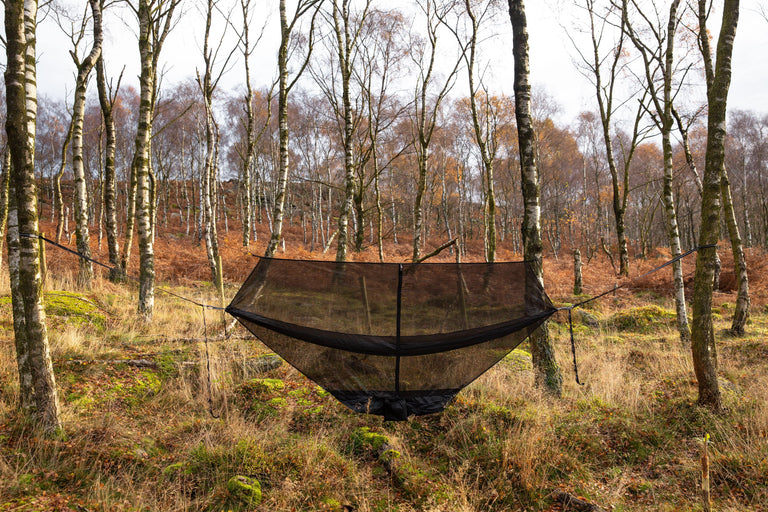
Choosing your winter bivvy spot
Location can make or break your winter bivvy experience. Here's how to choose wisely:
Avoid frost pockets: Cold air sinks, so valleys and hollows can be several degrees colder than sites just a few meters higher. However, don't go to the opposite extreme—exposed summits will rob you of heat through wind chill. Look for that sweet spot: slightly elevated but with natural wind protection from features like boulders, stone walls, or tree lines.
Think about wind: Even a light breeze becomes significant in winter. Look for natural windbreaks, but avoid anywhere that could funnel wind (like narrow gullies). A ridge just below the crest, on the sheltered side, is often ideal.
Watch for hazards: In snow conditions, check for avalanche risk. Avoid sites below cornices, steep slopes, or areas that could accumulate snow. Also check above you—avoid camping under dead trees or loose rocks that could be dislodged.
Ground conditions matter: Look for flat, well-drained ground. Avoid any dips where water might pool if snow melts. If there's snow, consider clearing it down to the ground where you'll sleep—snow is an insulator beneath you, but you want a stable, dry base.
Think morning sun: If you can, position yourself to catch the early morning sun. After a cold night, those first rays will lift your spirits (and help dry out any condensation).
Respect the environment: Follow Leave No Trace principles and check local wild camping regulations. In winter, fragile vegetation is still vulnerable, especially if buried under a thin layer of snow.
How to set up your winter bivvy
- Warm up before you snuggle up - Make sure you’re warmed up before you get in your bag. This could be as simple as eating a hearty meal or doing some star jumps before turning in for the night. That way your sleeping bag can retain your hard-earned heat all night.
- Keep your kit dry - Take advantage of your toasty sleeping bag for warming up extra kit. Don’t want to defrost your boots in the morning? Wrap them in an inside-out dry bag and shove them at the bottom of your bivvy bag. And keep your gloves and woolly hat inside the bag for when you need them first thing. Dry kit is warm kit.
- Multi-day hangout - If you’re on a multi-day trip, it’s essential that you dry out your bivvy in between sleeps. In the coldest of conditions, frost could form even on the inside of your bivvy bag. Turn it out, and hang it out to try while you’re hanging out at breakfast.
Starting your winter bivvy adventure
Your first winter bivvy might feel daunting, but remember: thousands of people do this every winter and come back with stories of incredible starlit skies, profound silence, and the satisfaction of spending a night in nature's deep freeze—and loving it. Start small, prepare well, and trust that you'll learn something new with each trip.
The winter landscape is waiting. Those crisp, clear nights when the stars seem close enough to touch. The frost-dusted morning where every breath creates clouds. The satisfaction of making a hot drink as the sun rises over frozen hills. It's all there for you.

Whether you're planning a microadventure close to home or a multi-day winter expedition, you've now got the knowledge to stay warm, safe, and comfortable. The only question left is: which night will you choose?
New to bivvying? Start with our complete guide to bivvying or check out our frequently asked questions to build your confidence.
Winter bivvy guides
More resources to help you plan, prepare and get out in winter.
Getting started with bivvying
- How to choose a bivvy bag - full range compared with specs and use cases
- Complete guide to bivvying
- Bivvying FAQs
- Mastering ultralight bivvy setups
- Backpacking in autumn - extend your season
Staying warm and comfortable
- 5 tips for optimising your sleeping bag's warmth
- How warm should your sleeping bag be?
- The best camping fuel for winter
- Bivvying in the rain and staying dry
Winter skills and safety
- Staying safe on the hill
- Essential winter hill walking kit
- Winter walking kit list
- Essential safety kit for expeditions
Technical setup guides
- How to set up a tarp
- Choosing a 4-season tent - when you want more protection
Inspiration
Bivvy Bags


-
Sold Out


-
Sold Out


Camping Tarps


-
Sold Out


-
Sold Out


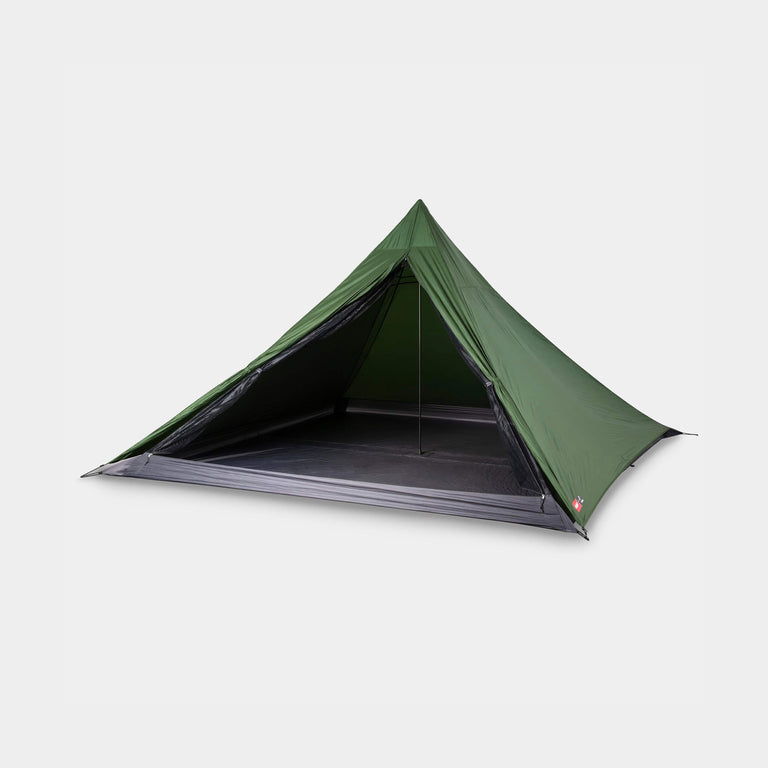
Tarpstar 2
Ultralight pyramid tarp tent for backpacking: 2-person, 3-season, as light as 500g
€249,99
-
Sale
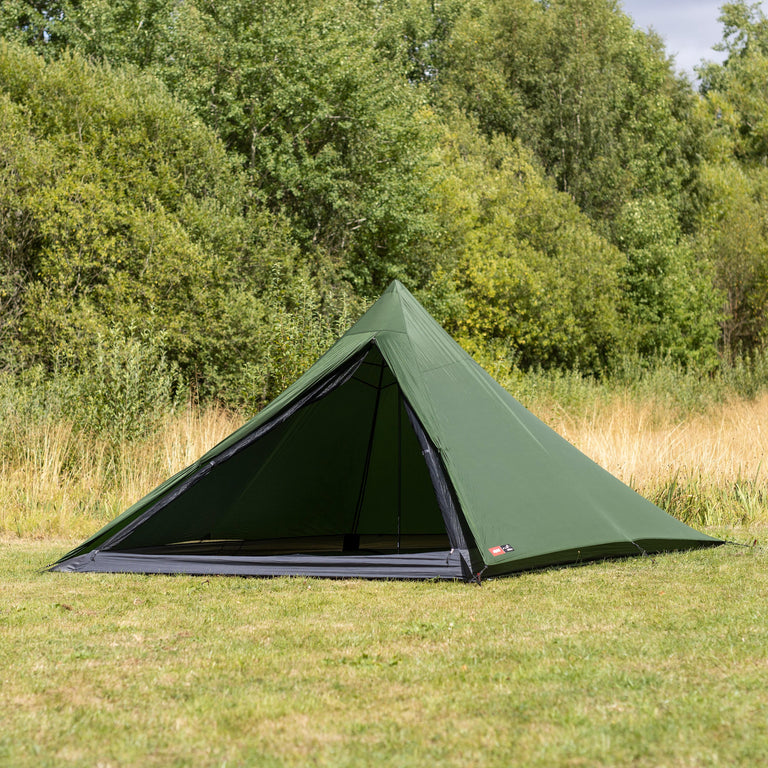
Tarpstar 4
Ultralight pyramid tarp tent for backpacking: 4-person, 3-season, as light as 771g
€229,99
€299,99
-
Sold Out

-
Sold Out


Recommended Gear
-
Sold Out
-
Sold Out


Radiant
Radiant heat technology for exceptional warmth to weight, 4-season warmth with 7.2 R-value
€129,99
-
Sale


Your next reads